New MD ring design in sterling silver.

Wow, two years since my last blog post. The fact is that I have been busy, working on the house, designing new pieces, painting, tattooing and just living. I’m going to make an effort to update this blog sooner than later so if you’re reading this, thanks for stopping by.

Here is a design that I’m proud of. It is a visual play on the Maryland flag, set in sterling silver. I will post this item on our gallery site, woodenoctopus.com, in a few days. All sizes will be available and there will be a 4-6 week order window because these will be made-to-order.

Thanks again for checking this out…

new_signature_blk.png
OCToday_Fiddlers2018.jpg

Wooden Octopus renovations...

So it's been a very busy year for us. We have been renovating a 116 year old house in Berlin, Maryland which has taken up most of my time. You can see some of our progress through either my instagram account (@matthewamey) or through the gallery's instagram account (@wooden_octopus : pictured below). I will have a studio space set up soon where I'll be able to actually sit at a desk and return to this blog. 

Gallery Block
This is an example. To display your Instagram posts, double-click here to add an account or select an existing connected account. Learn more

It's been a while... (about 6 months)

It's been a busy few months. Lisa and I bought an older home in Berlin, MD back in September and we've been doing major renovations on it. This is going to be a short post because I need to get back to it...

Here are a couple early pics of what we've gotten ourselves into. These are some choice images from the first 4 weeks.


Tattooing Sam Calagione of Dog Fish Head

So this year Dog Fish Head brewings and eats in Rehoboth Beach Delaware celebrates 20 years in business. To commemorate the event Sam Calagione, the owner, wanted to get his companies logo tattooed on his forearm so he contacted me. His plan was to get the tattoo in secret so that he could unveil the tattoo at an event scheduled for Tuesday, June 23rd. He did an exceptional job of keeping the tattoo hidden from most everyone he knows, including his wife, and business partner, Mariah.

With the help of my wife, Lisa Tossey, we were able to document the event in this time lapse video.


First State series by Matthew Amey

My 'First State' series in sterling silver is now available exclusively at Albert Frank's Fine Jewelry in Lewes, Delaware.

These pendants are modeled after the fire control towers that are prevalent along coastal Delaware. If you love coastal Delaware then you'll love my I Heart DE pendants!


Octopus pendant in sterling silver.

This design began as a study in organic sculpture using digital processes. It was originally produced as a large, direct-to-metal, 3D print in stainless steel.

I have spent the last few months refining this model to reduce the size and have it produced in sterling silver.

I am very, very excited about the amount of detail achievable through the processes used to make such a stunning piece. Currently ON SALE, for a limited time, in my online jewelry store.

If you like this piece, please 'pin' it, share it, re-post it. Thank you.

Wear it either way, it's highly detailed all around.

File sizes when using ZBrush for 3D printing...

640,000 total points ~ 64mB file size

While sculpting in ZBrush your files can be as large as your system can handle. I usually sculpt at or around 4,000,000 points. To output your file for 3D printing however, you must decimate the model to 640,000 total points, or fewer, before you export to .stl format.

All 3D printers will print faster with smaller file sizes and most service providers (shapeways.commatter.ioi.materialize.com, etc...) require that you keep your files below 64mB.

--- just some notes for me to reference in the future.

Update - skull w/ split mandible...

I gott this 3D object printed in wax and cast in sterling silver. After giving it an antique patina and hand polishing it I was able to get some good photographs of it on some driftwood I found on the beach.

It's been listed on my store where it is available in a size 8. Other sizes are available, just ask.


Skull with split mandible ring.

To make sure that my ring sizing is correct I order a plastic 3D printed version of the piece. If the plastic piece fits my clients finger then I know the sterling silver will fit perfectly.

Here's the high-res plastic version of my skull ring with split mandible. It was printed through www.shapeways.com where I have posted quite a few of my designs.

The test size fits great so the sterling silver is ordered and in production. It should be done by early February.

Photopraph by Martina Major

Photopraph by Martina Major

Photograph by Martina Major

Photograph by Martina Major


Demon pendant in Stainless Steel.

Here is the result of my demon sculpt after having it printed in Stainless Steel and then antiqued. I'm really excited at the amount of detail that came out in the print.

Stainless Steel pendant with a black patina applied. This is how the piece looked when I received it from Shapeways.

Stainless Steel pendant with a black patina applied. This is how the piece looked when I received it from Shapeways.

The result of a few minutes of hand polishing to bring back the shine of the Stainless Steel/Bronze core material.

The result of a few minutes of hand polishing to bring back the shine of the Stainless Steel/Bronze core material.


Getting in sync with technology...

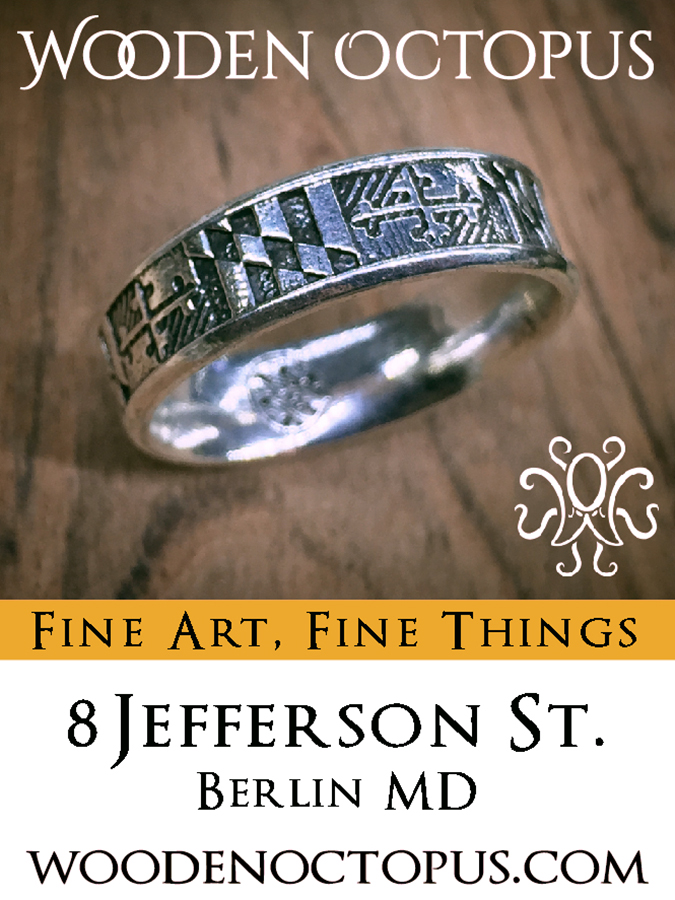
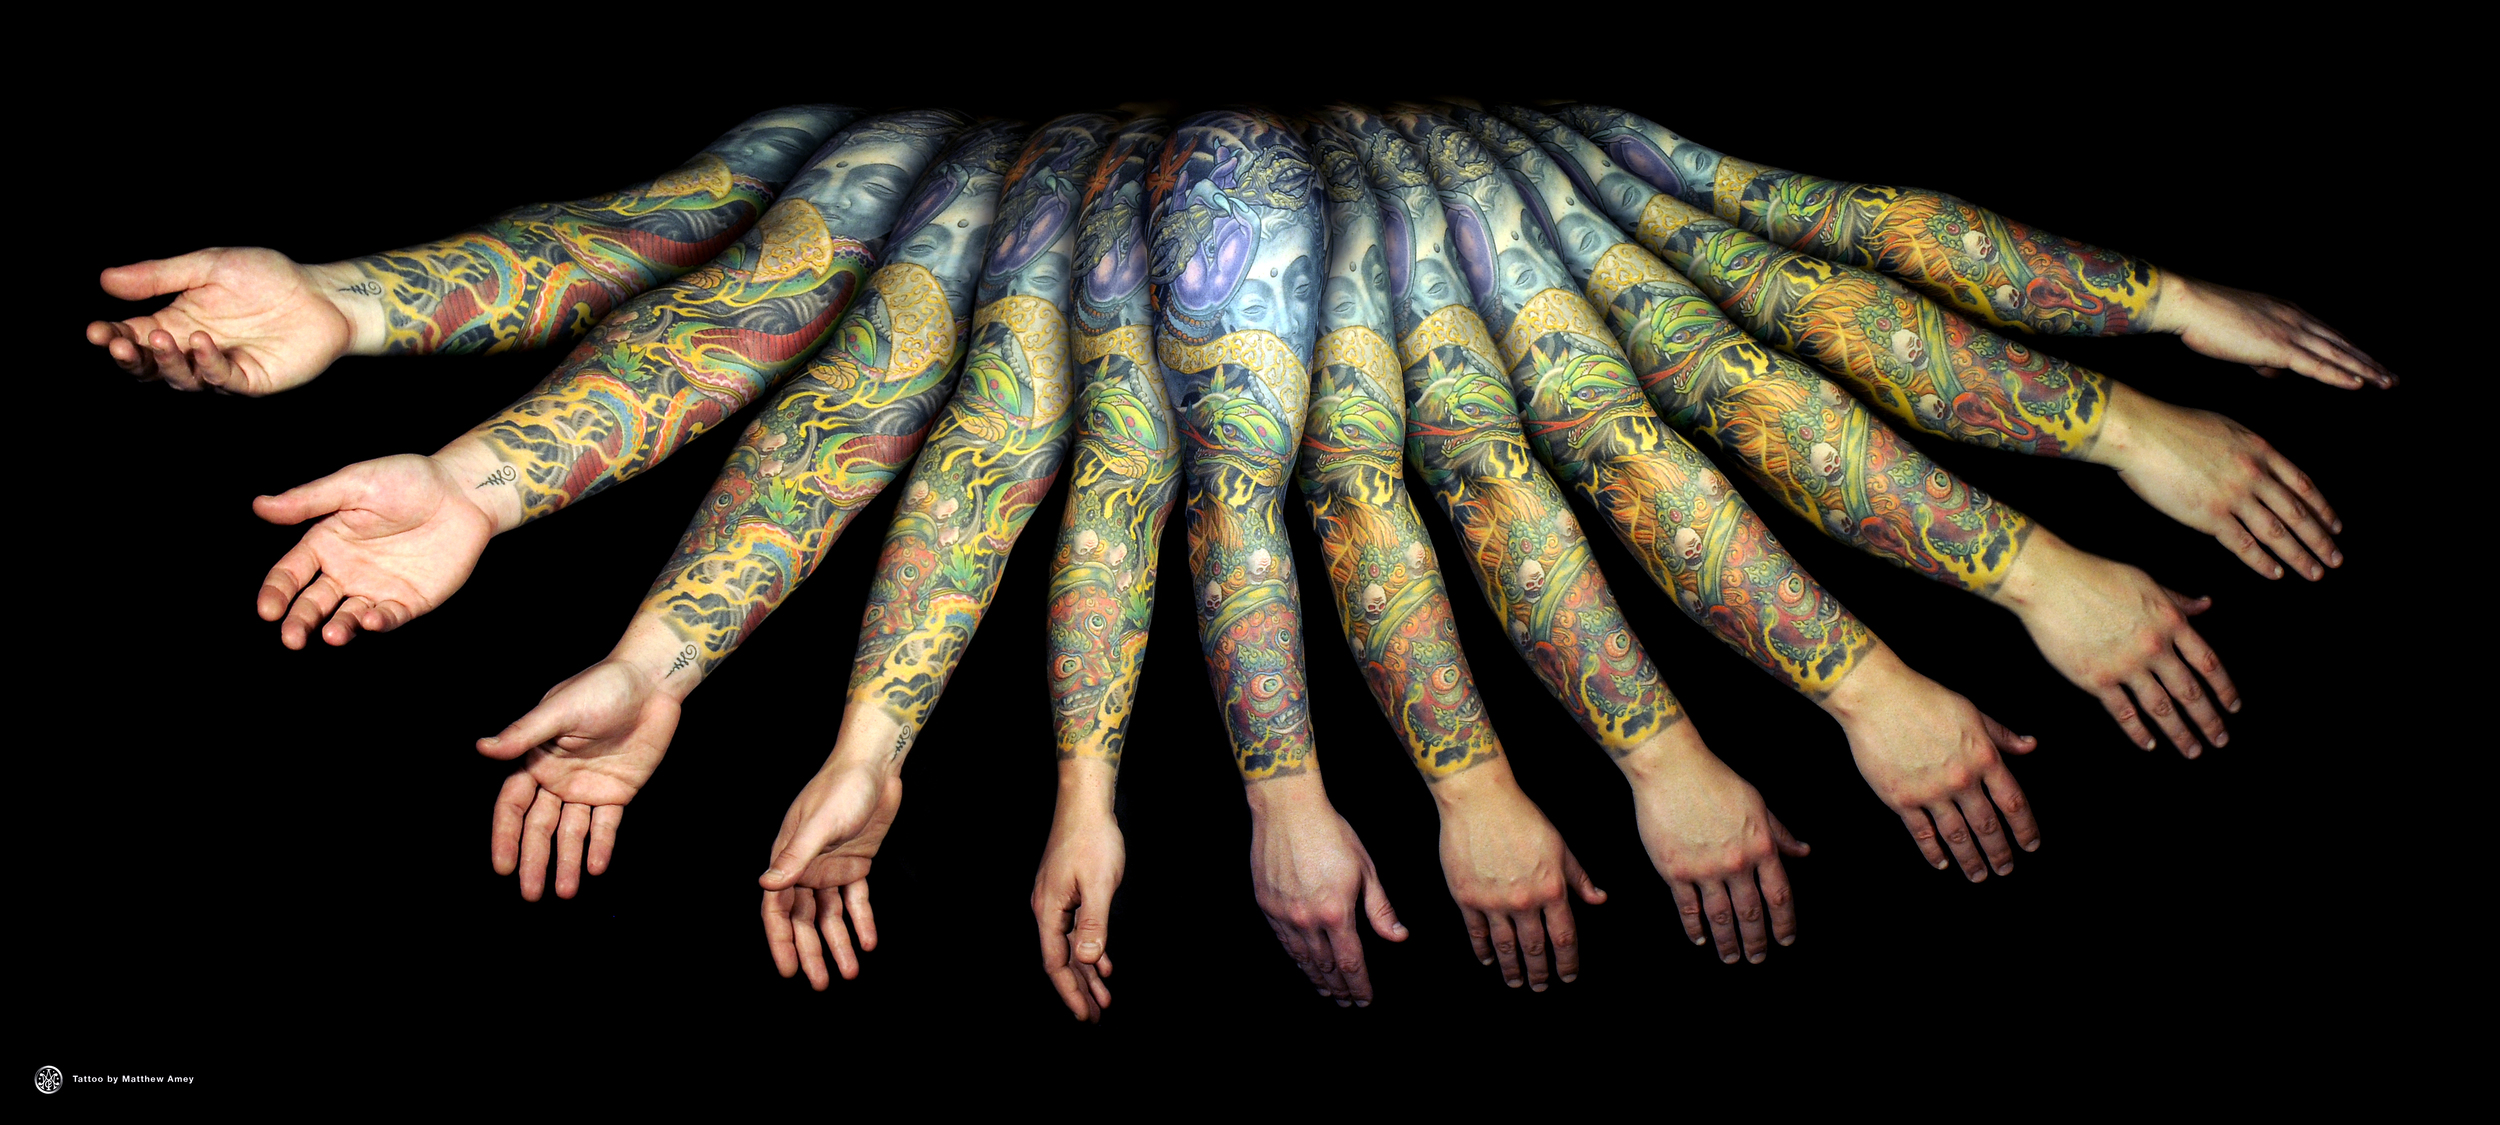
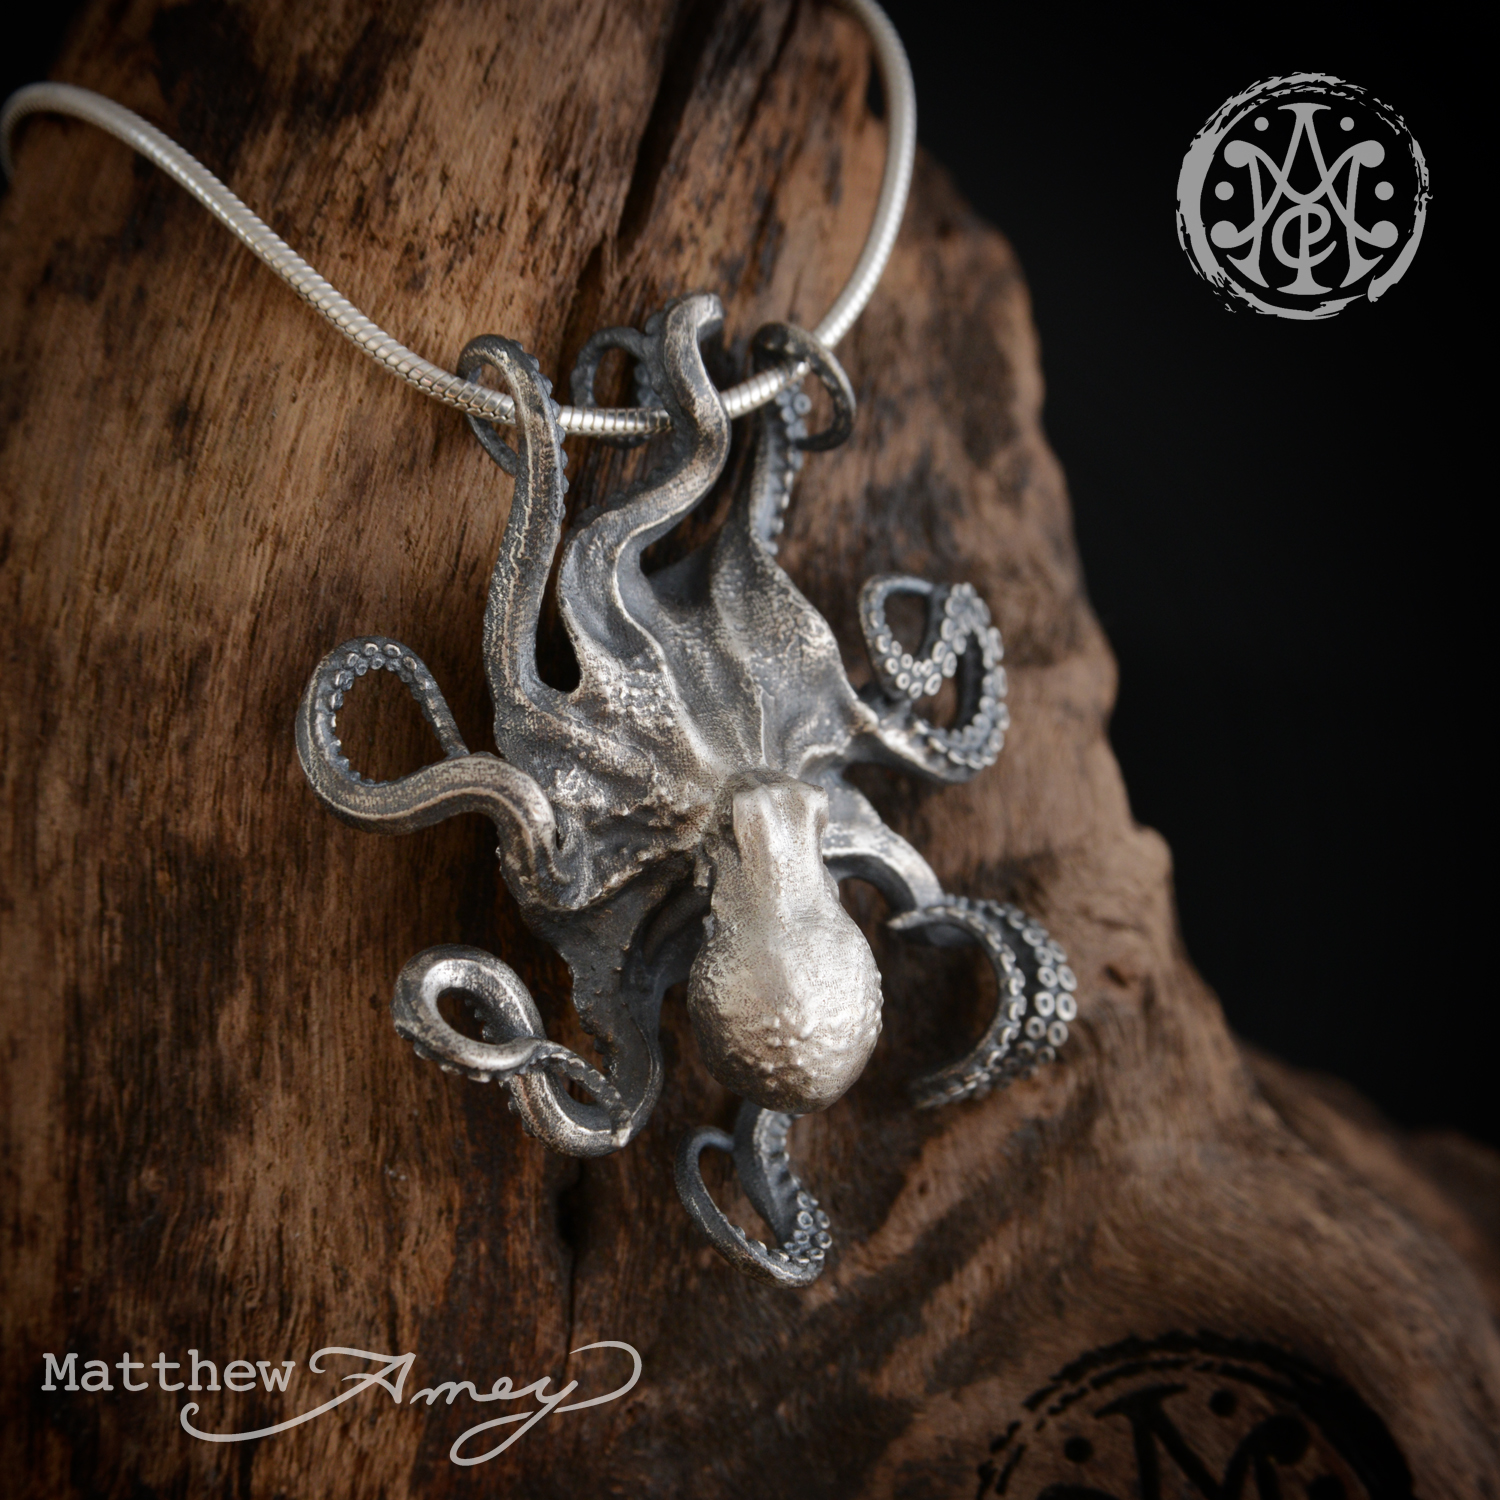
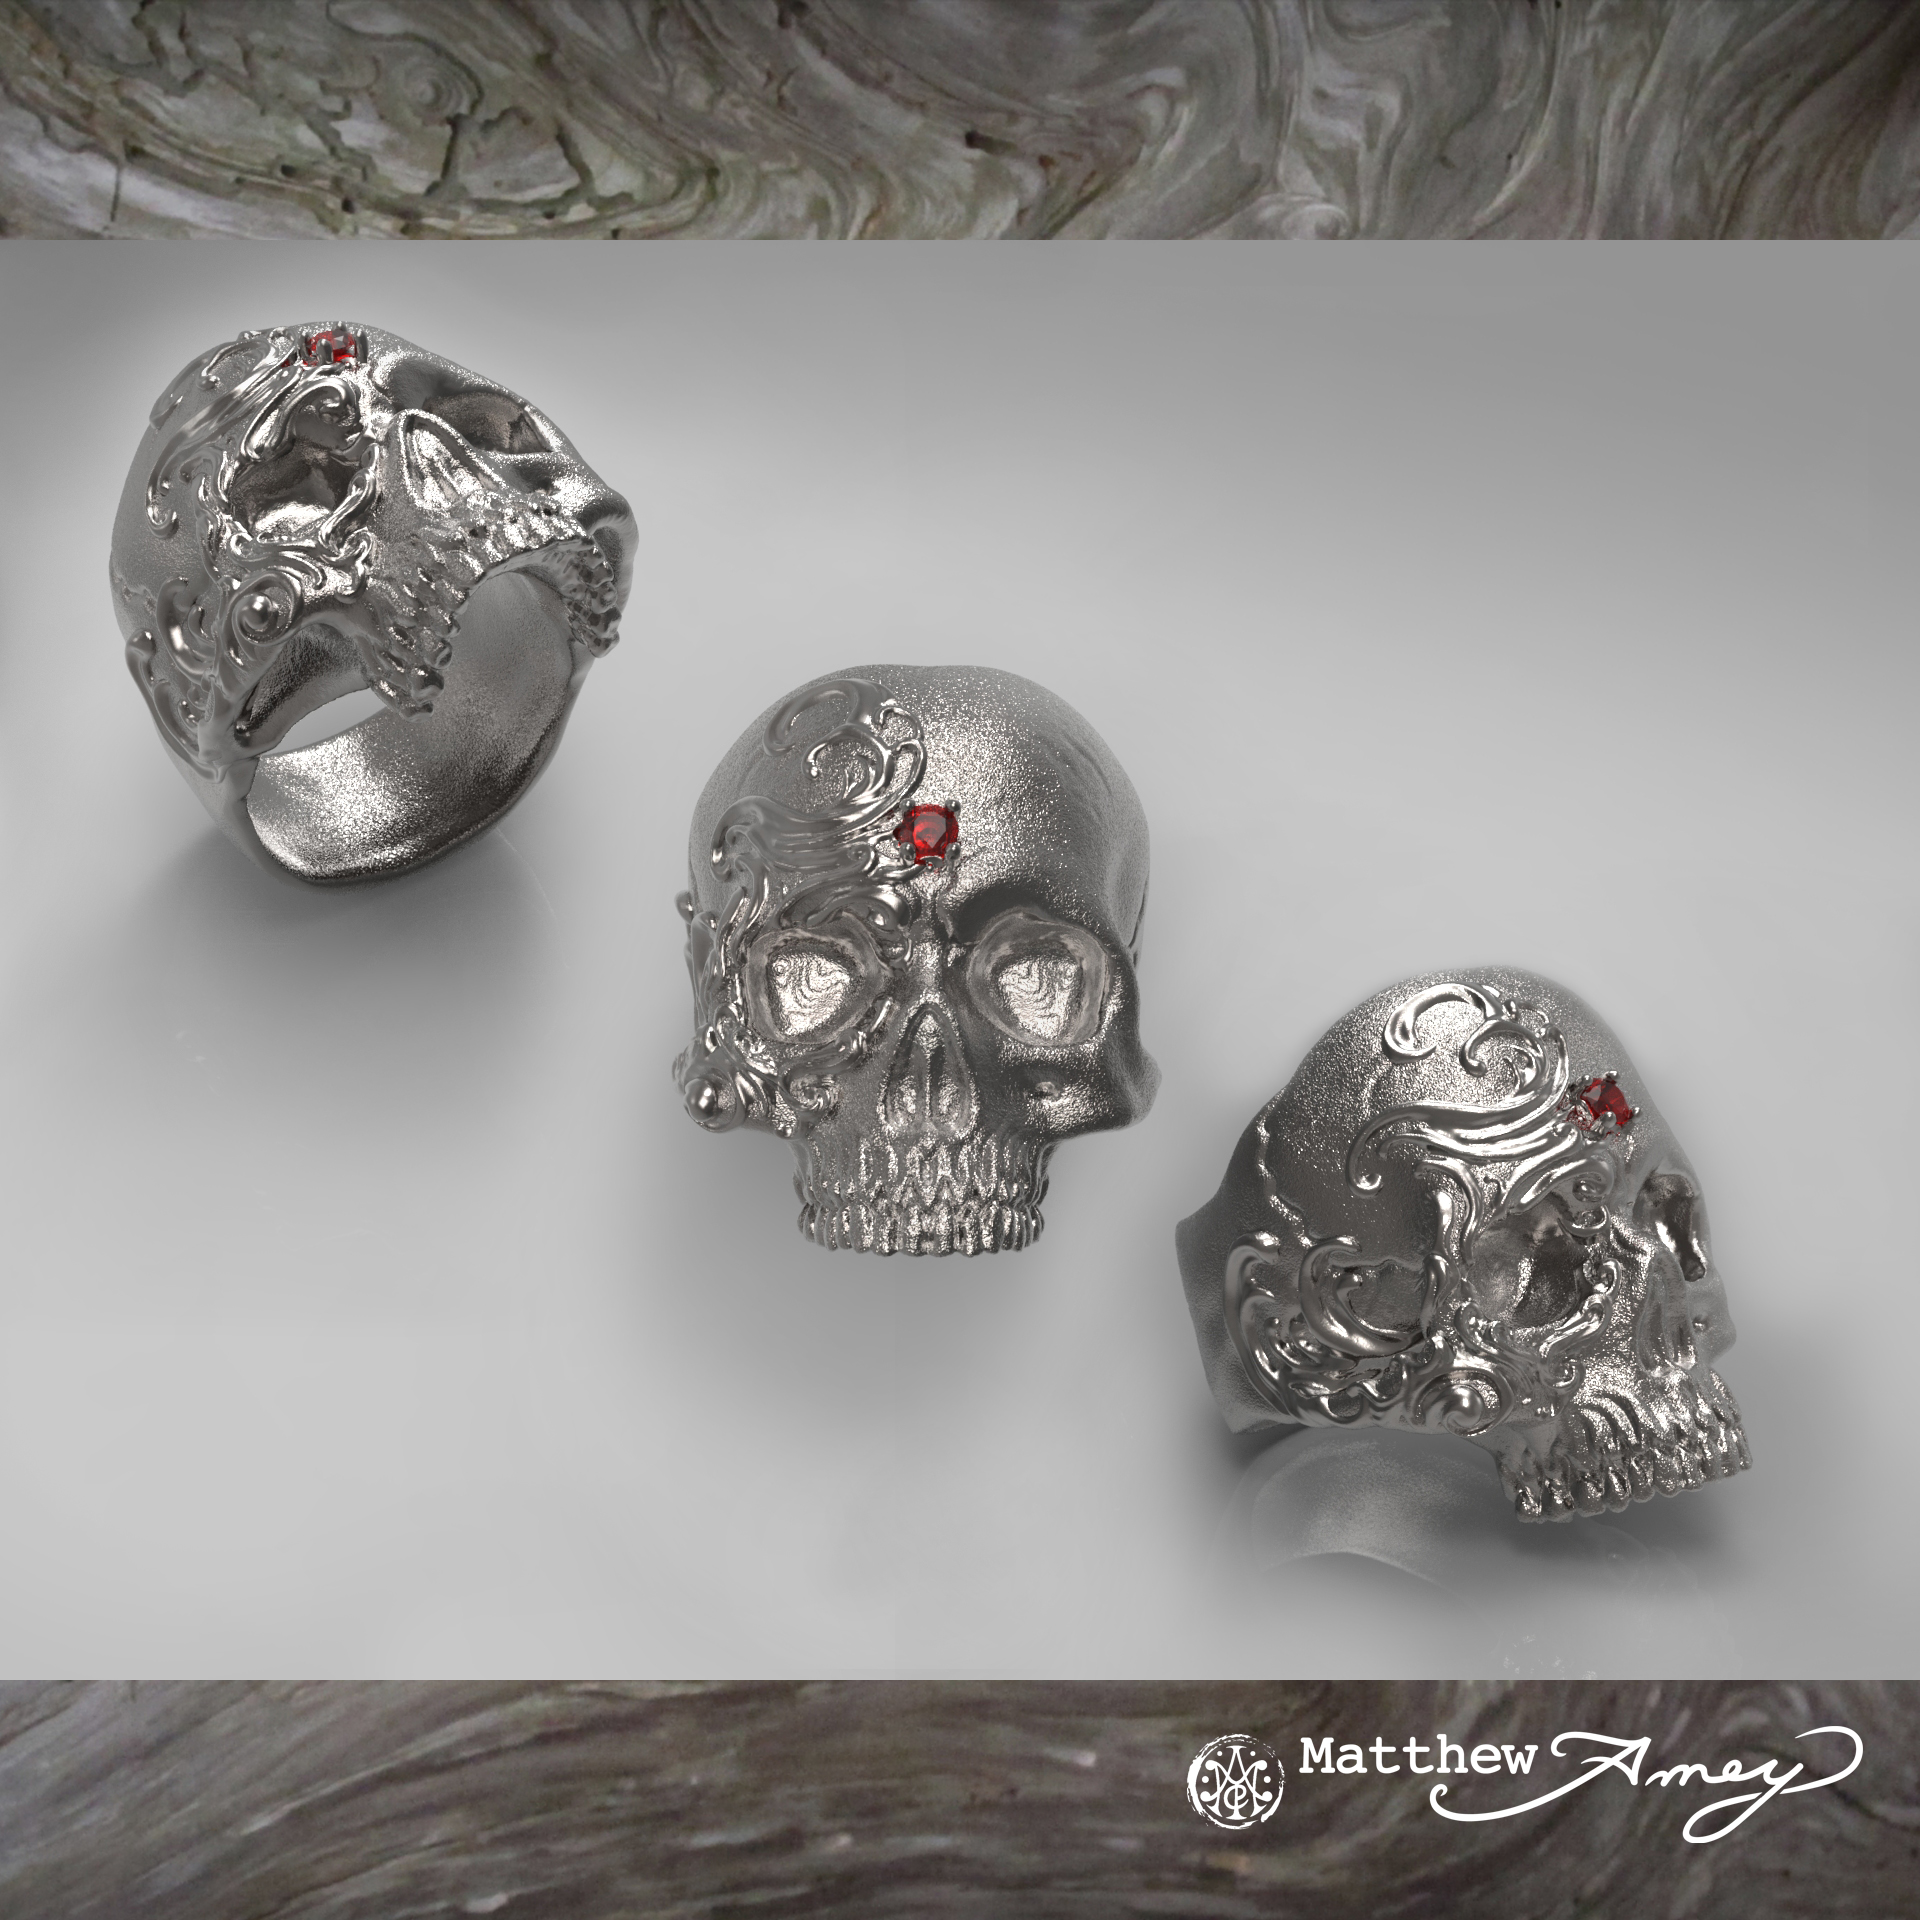
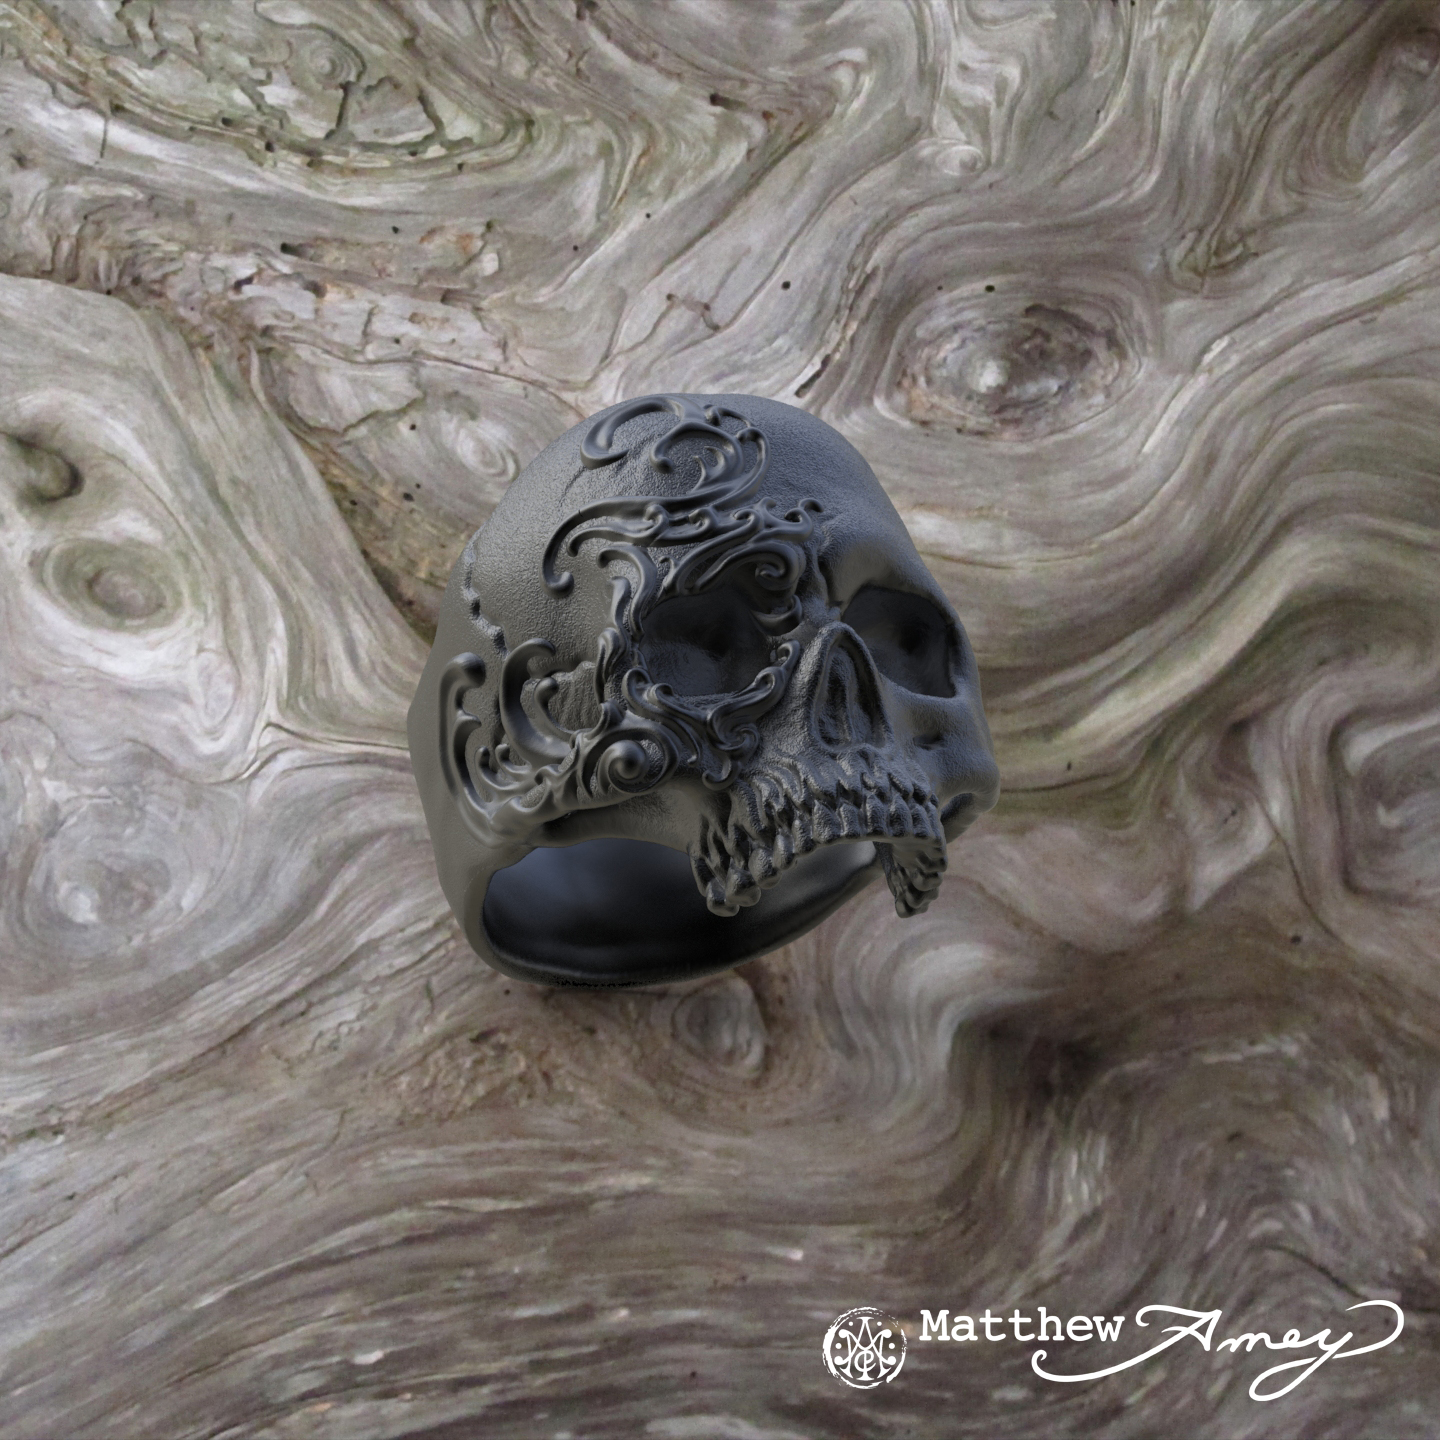
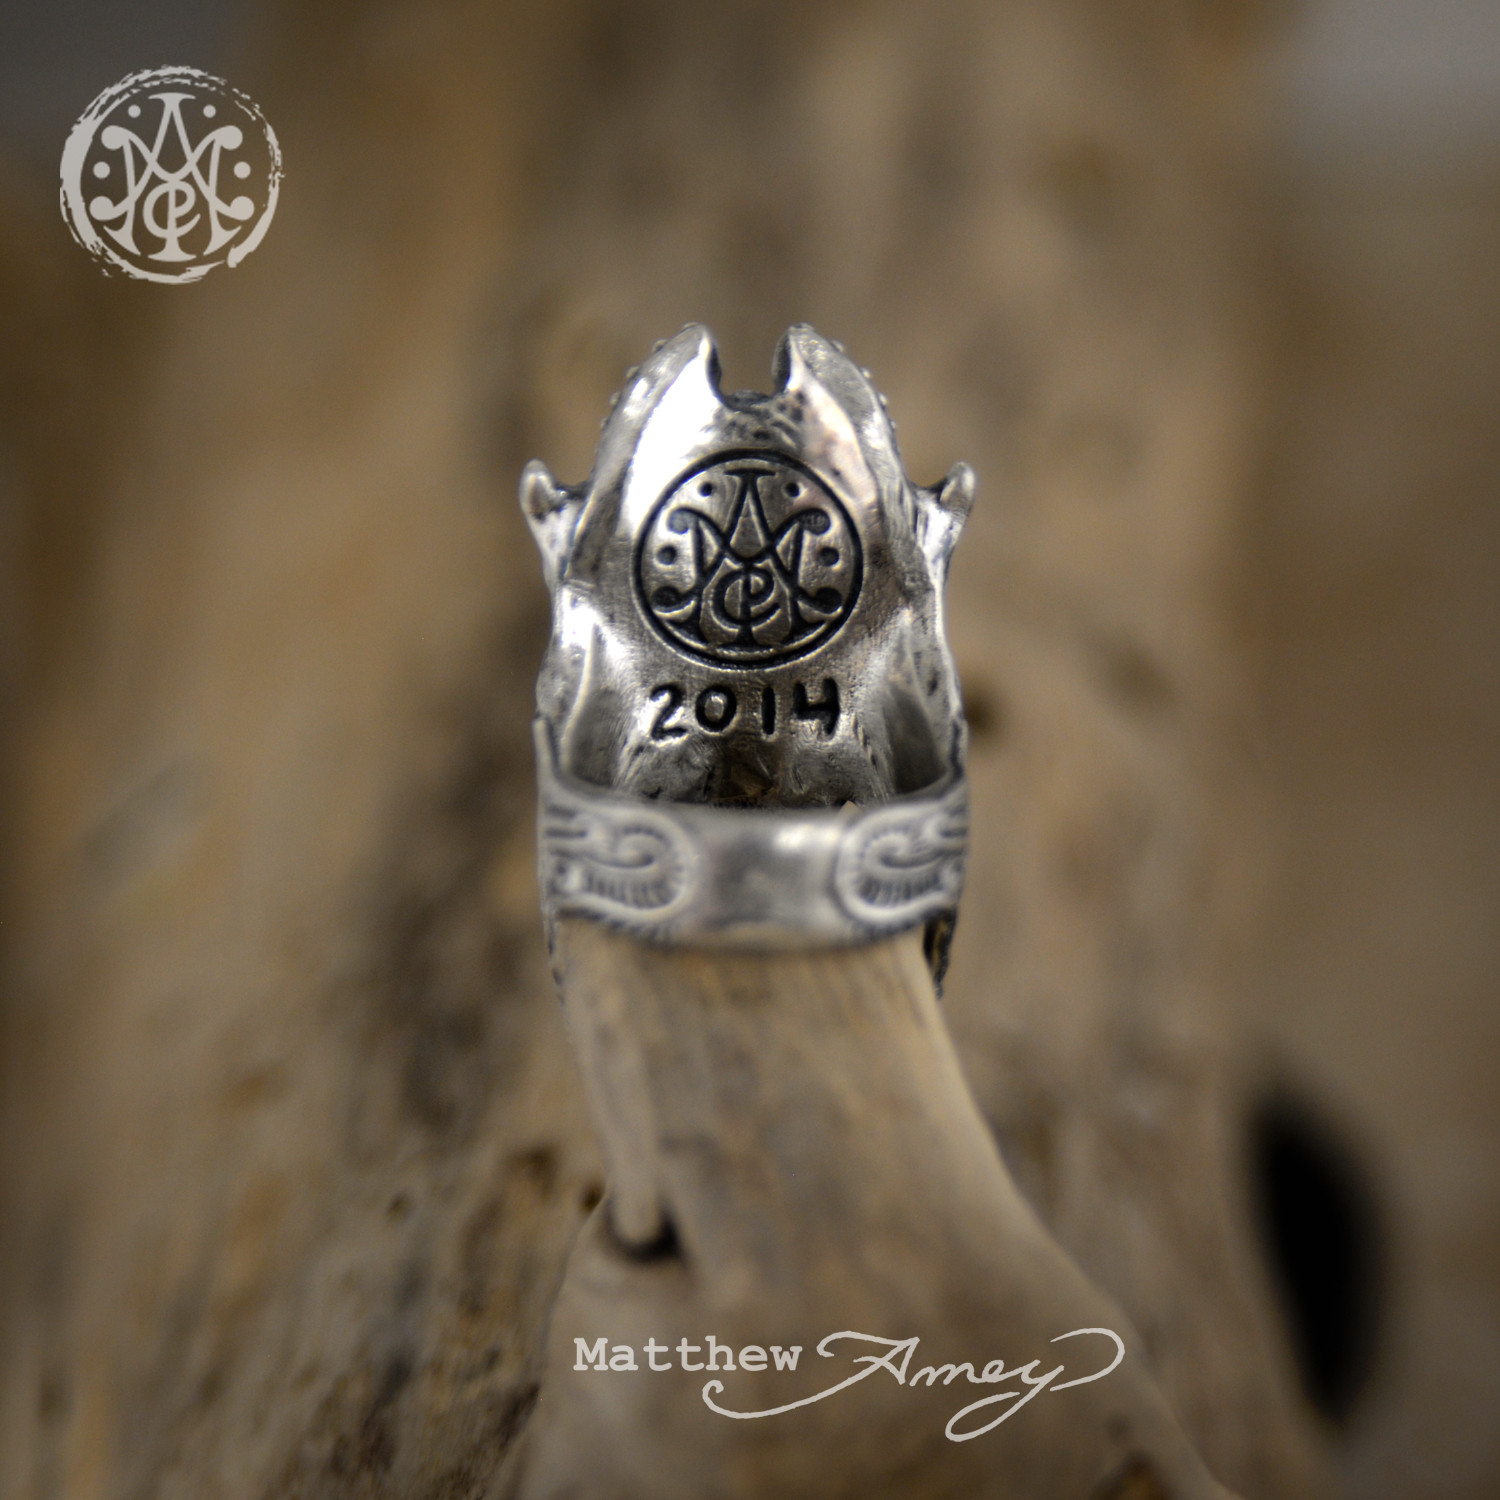
As some of you may know I've been digitally sculpting for a while now and within the past few years 3D print technology has finally reached a resolution that I can truly get behind.

In the beginning there were very few options for printing digitally created 3D objects. Desktop printers from companies like makerbot and formlabs are somewhat affordable but still too expensive for the everyday tinkerer, in my opinion. I have worked with an early iteration of the MakerBot and, with all of the normal troubleshooting of a new piece of equipment, I became frustrated and lost interest.

Luckily there are output service providers, such as shapeways.com and matter.io where I am able to upload my files to their servers, select which materials I want my pieces printed in, and within a few weeks I have my piece/pieces in hand and ready to be finished.

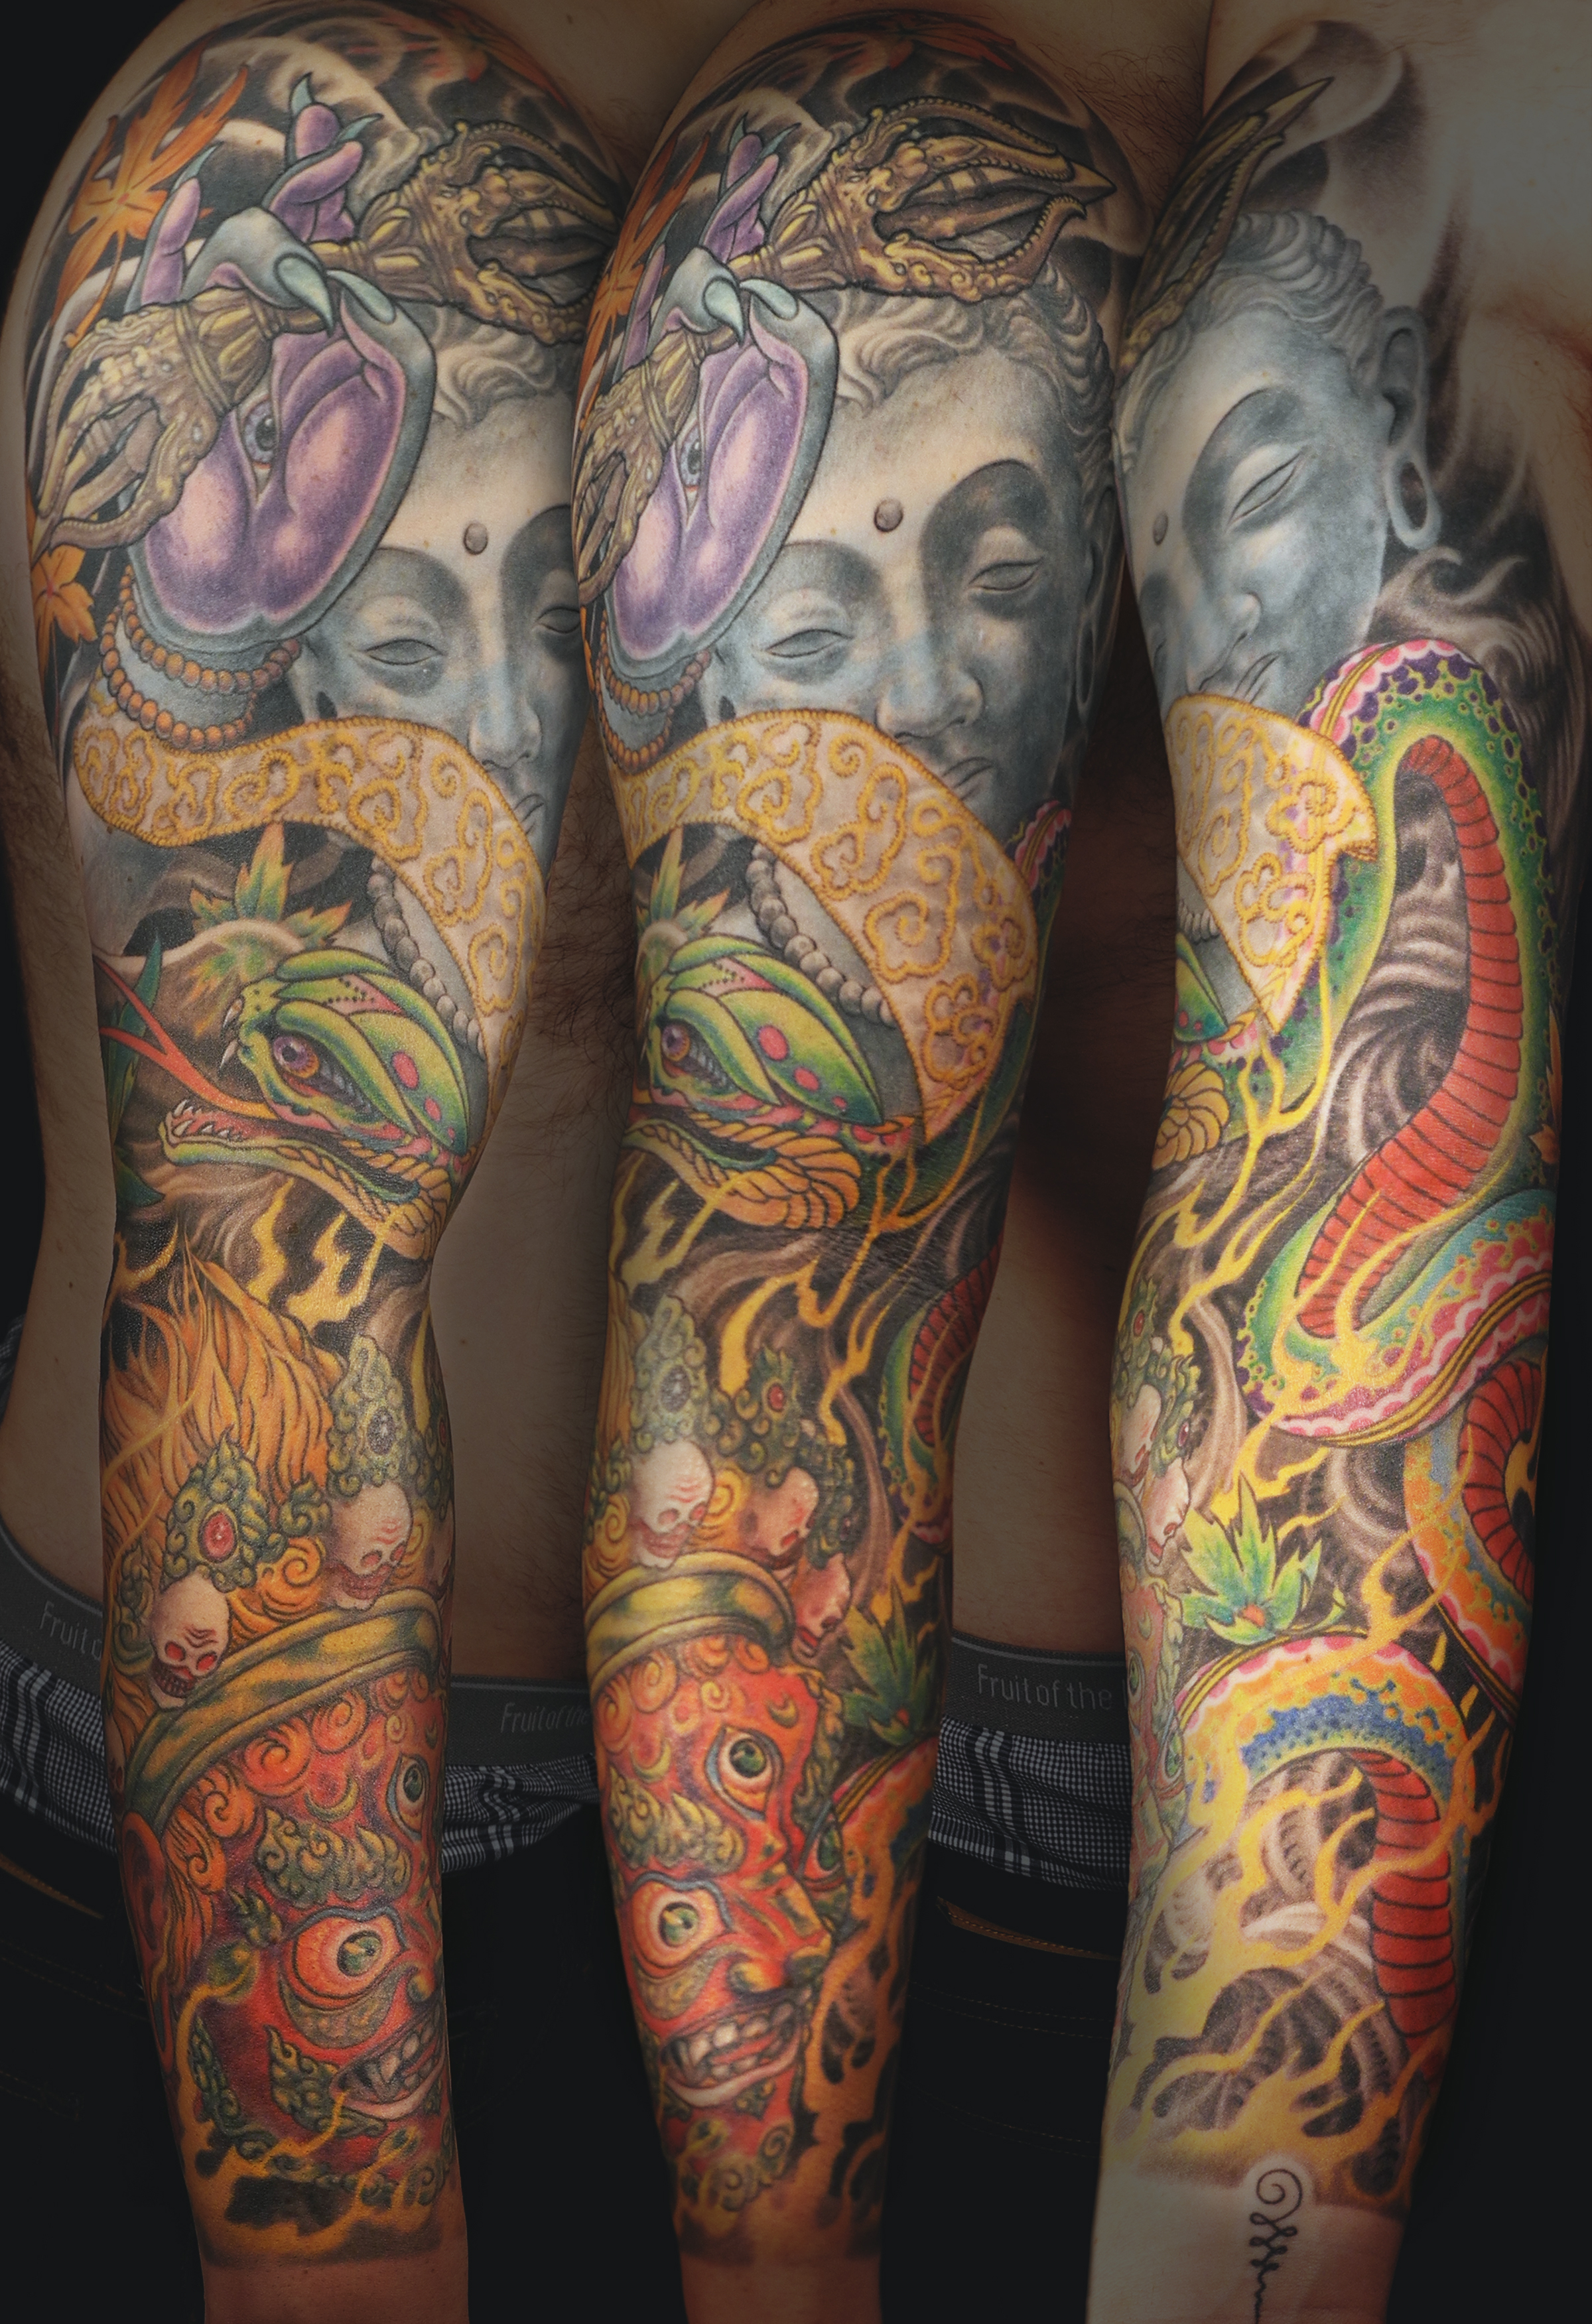
The resolution and detail available today, while not spectacular, is close enough that, with a little hand polishing on the metal pieces, it is difficult to see any artifacts from the printing process.

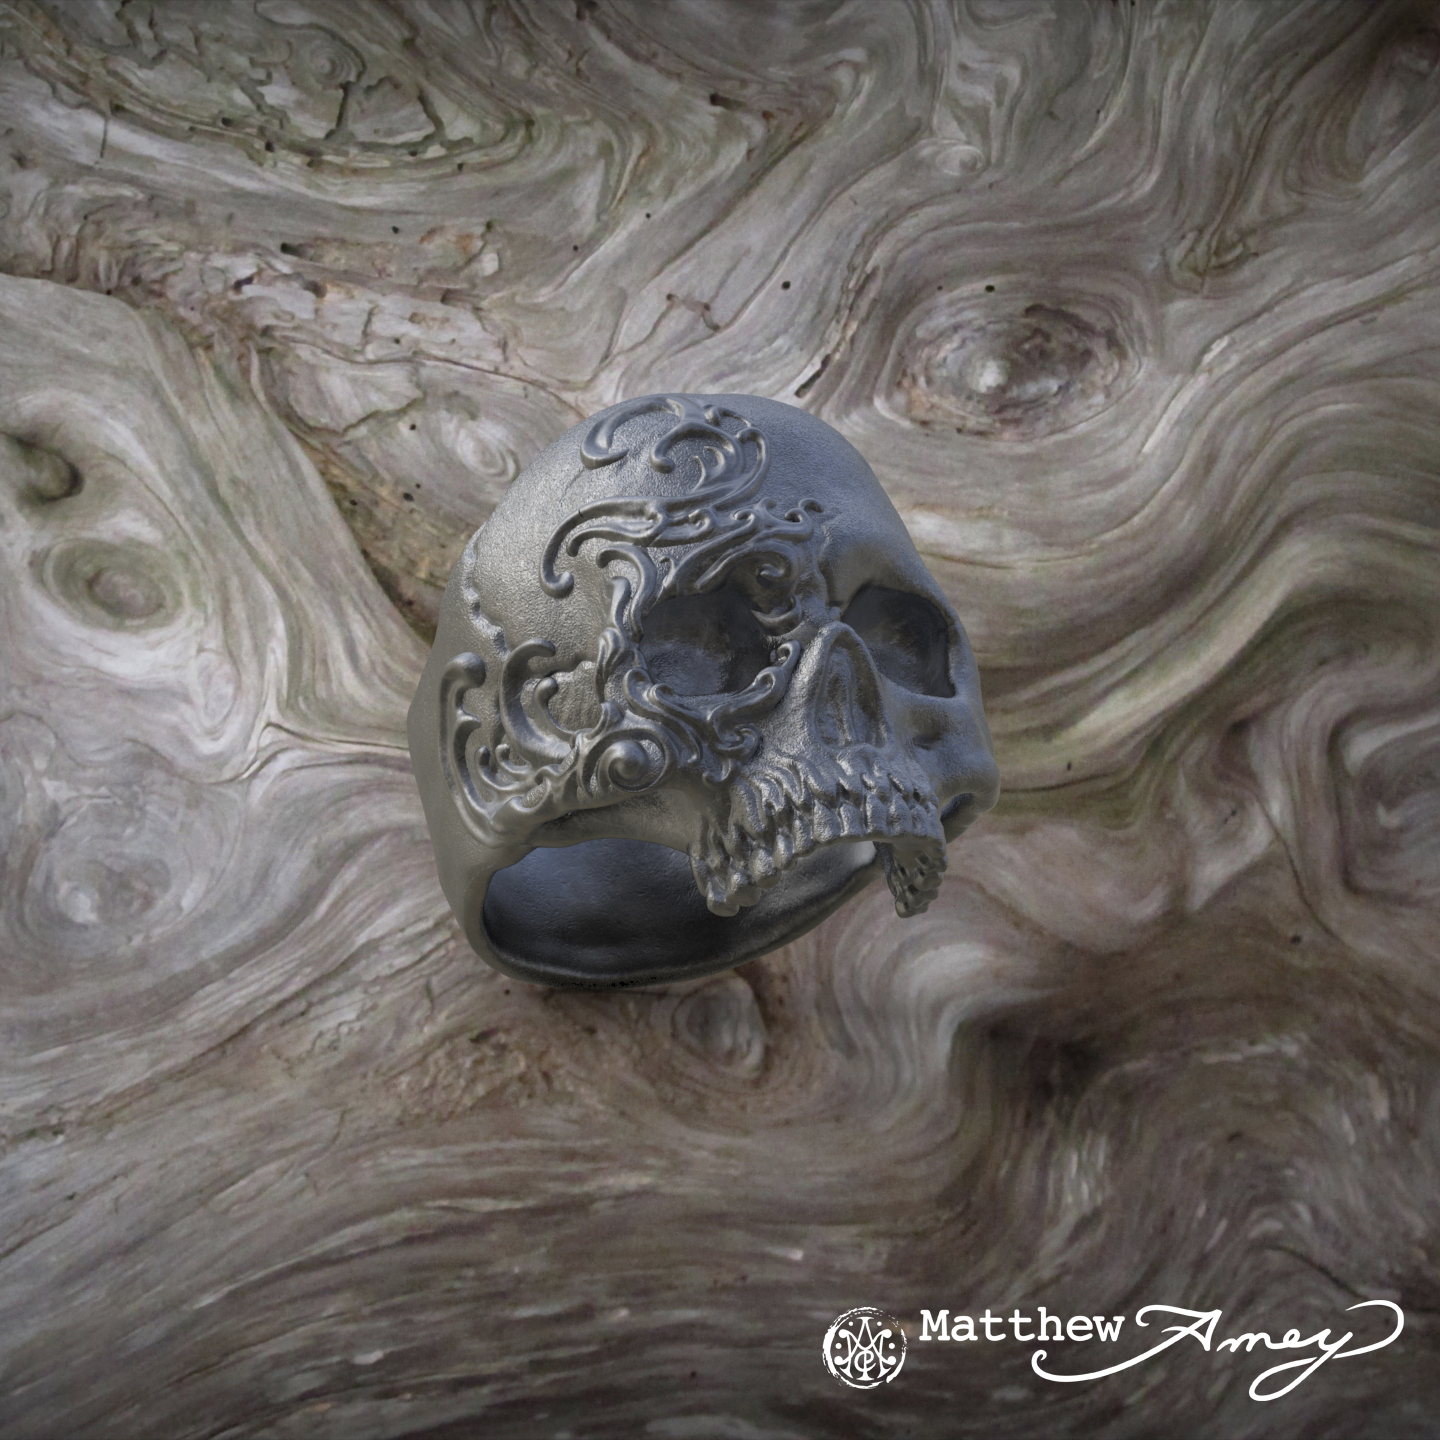
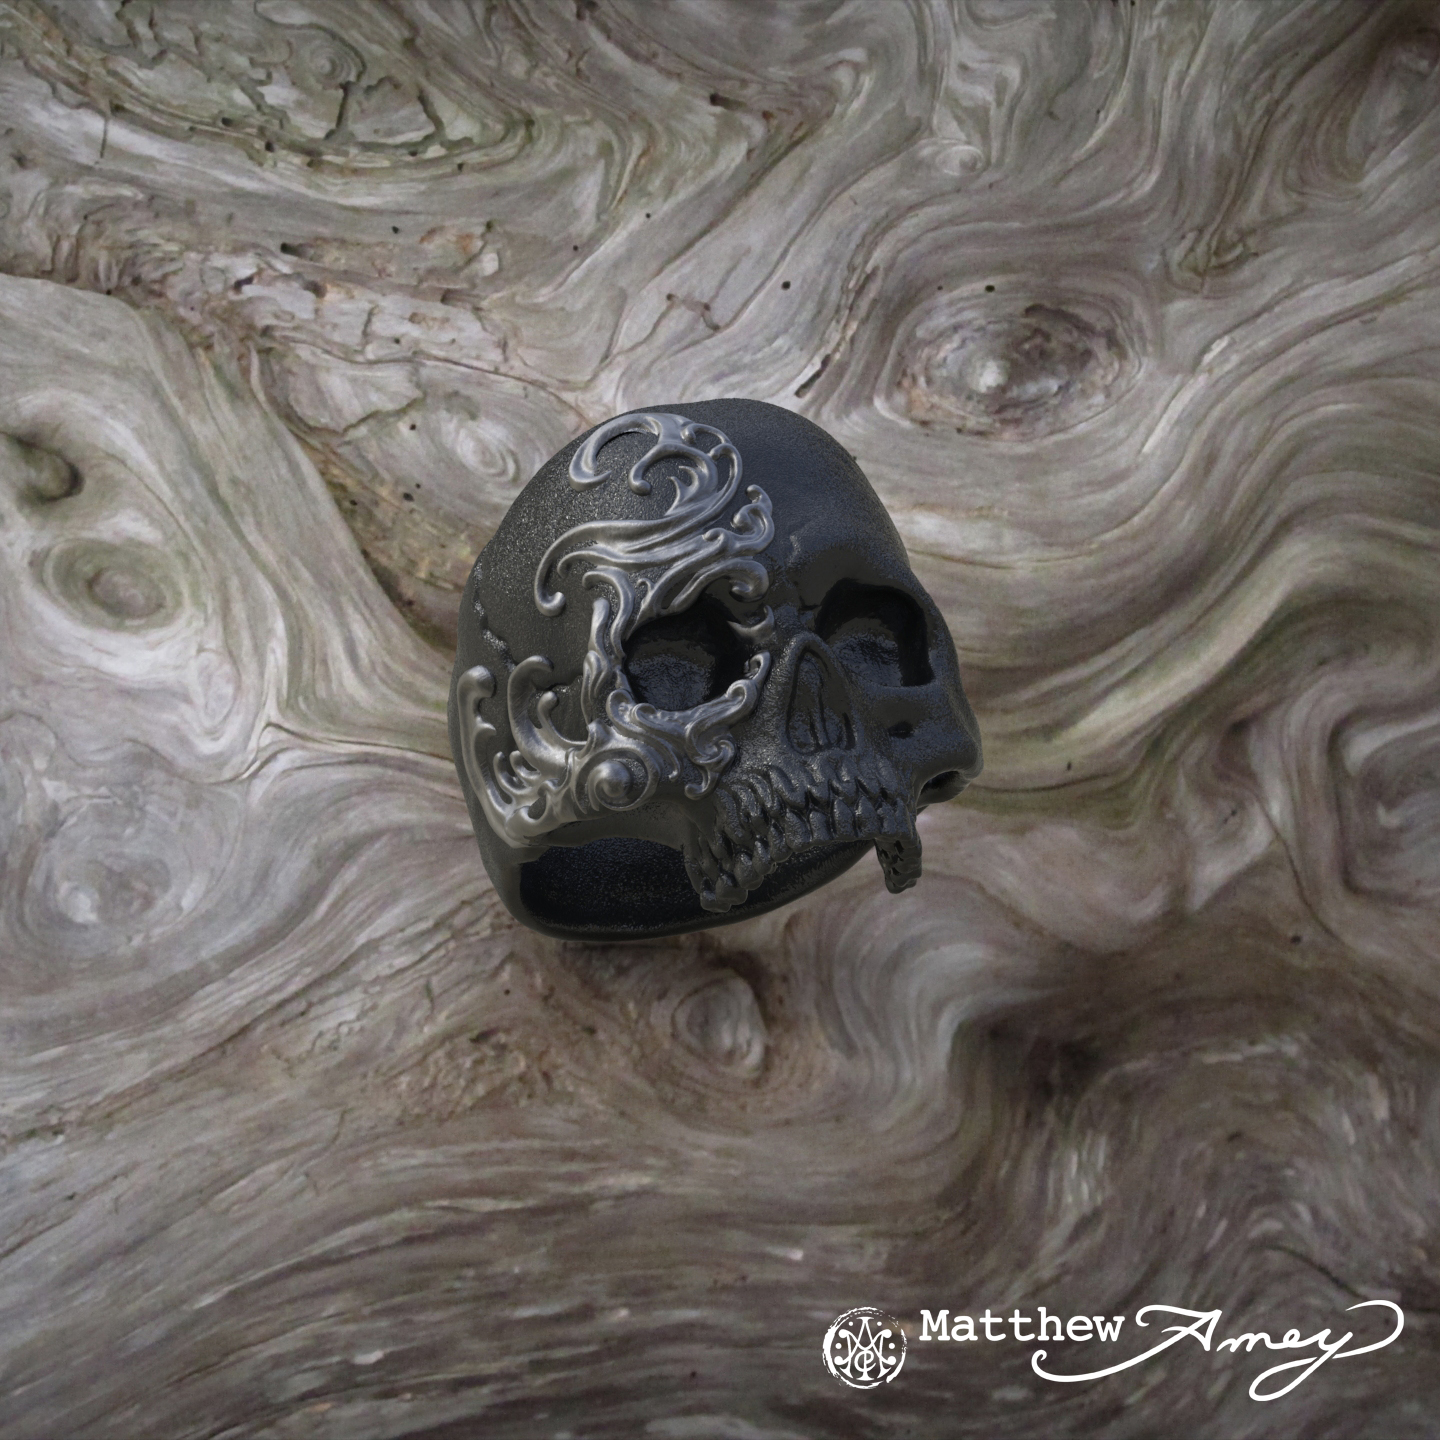
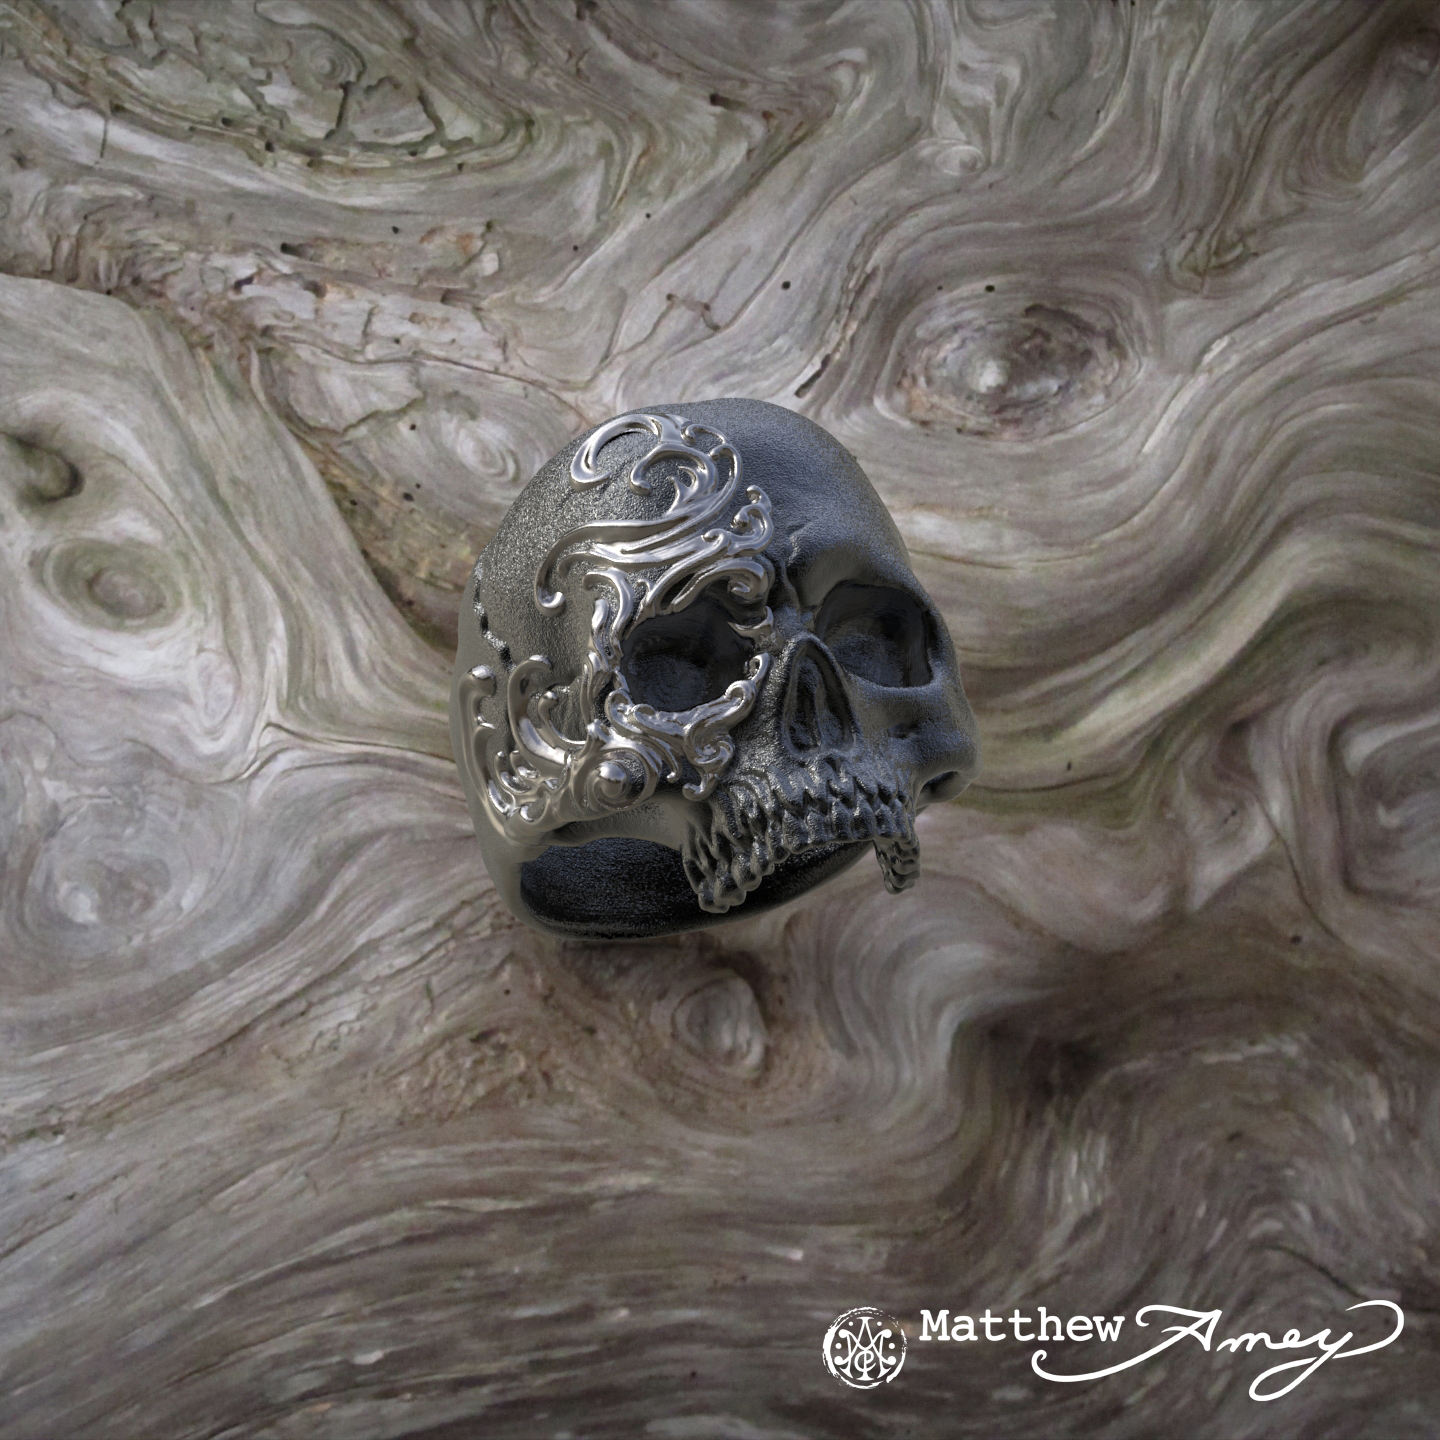
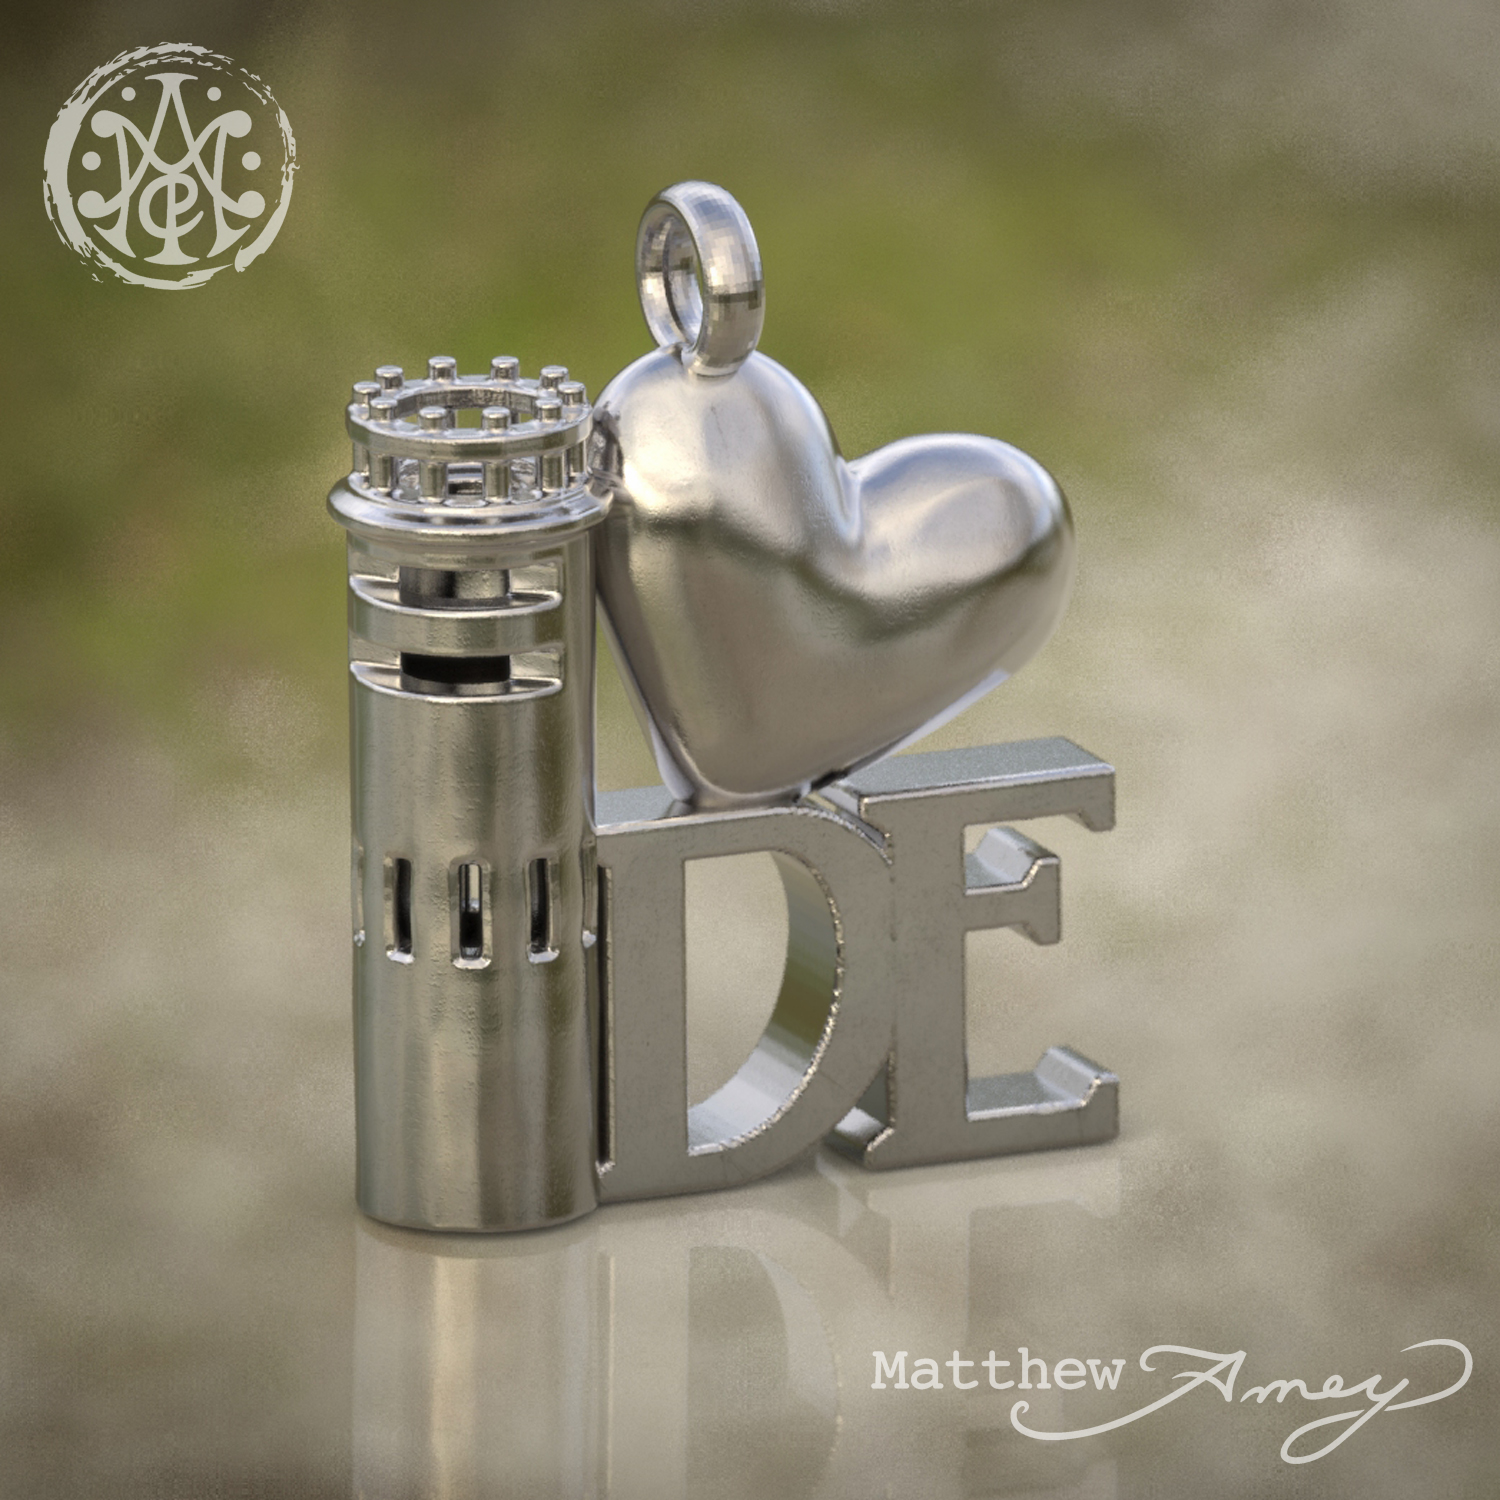
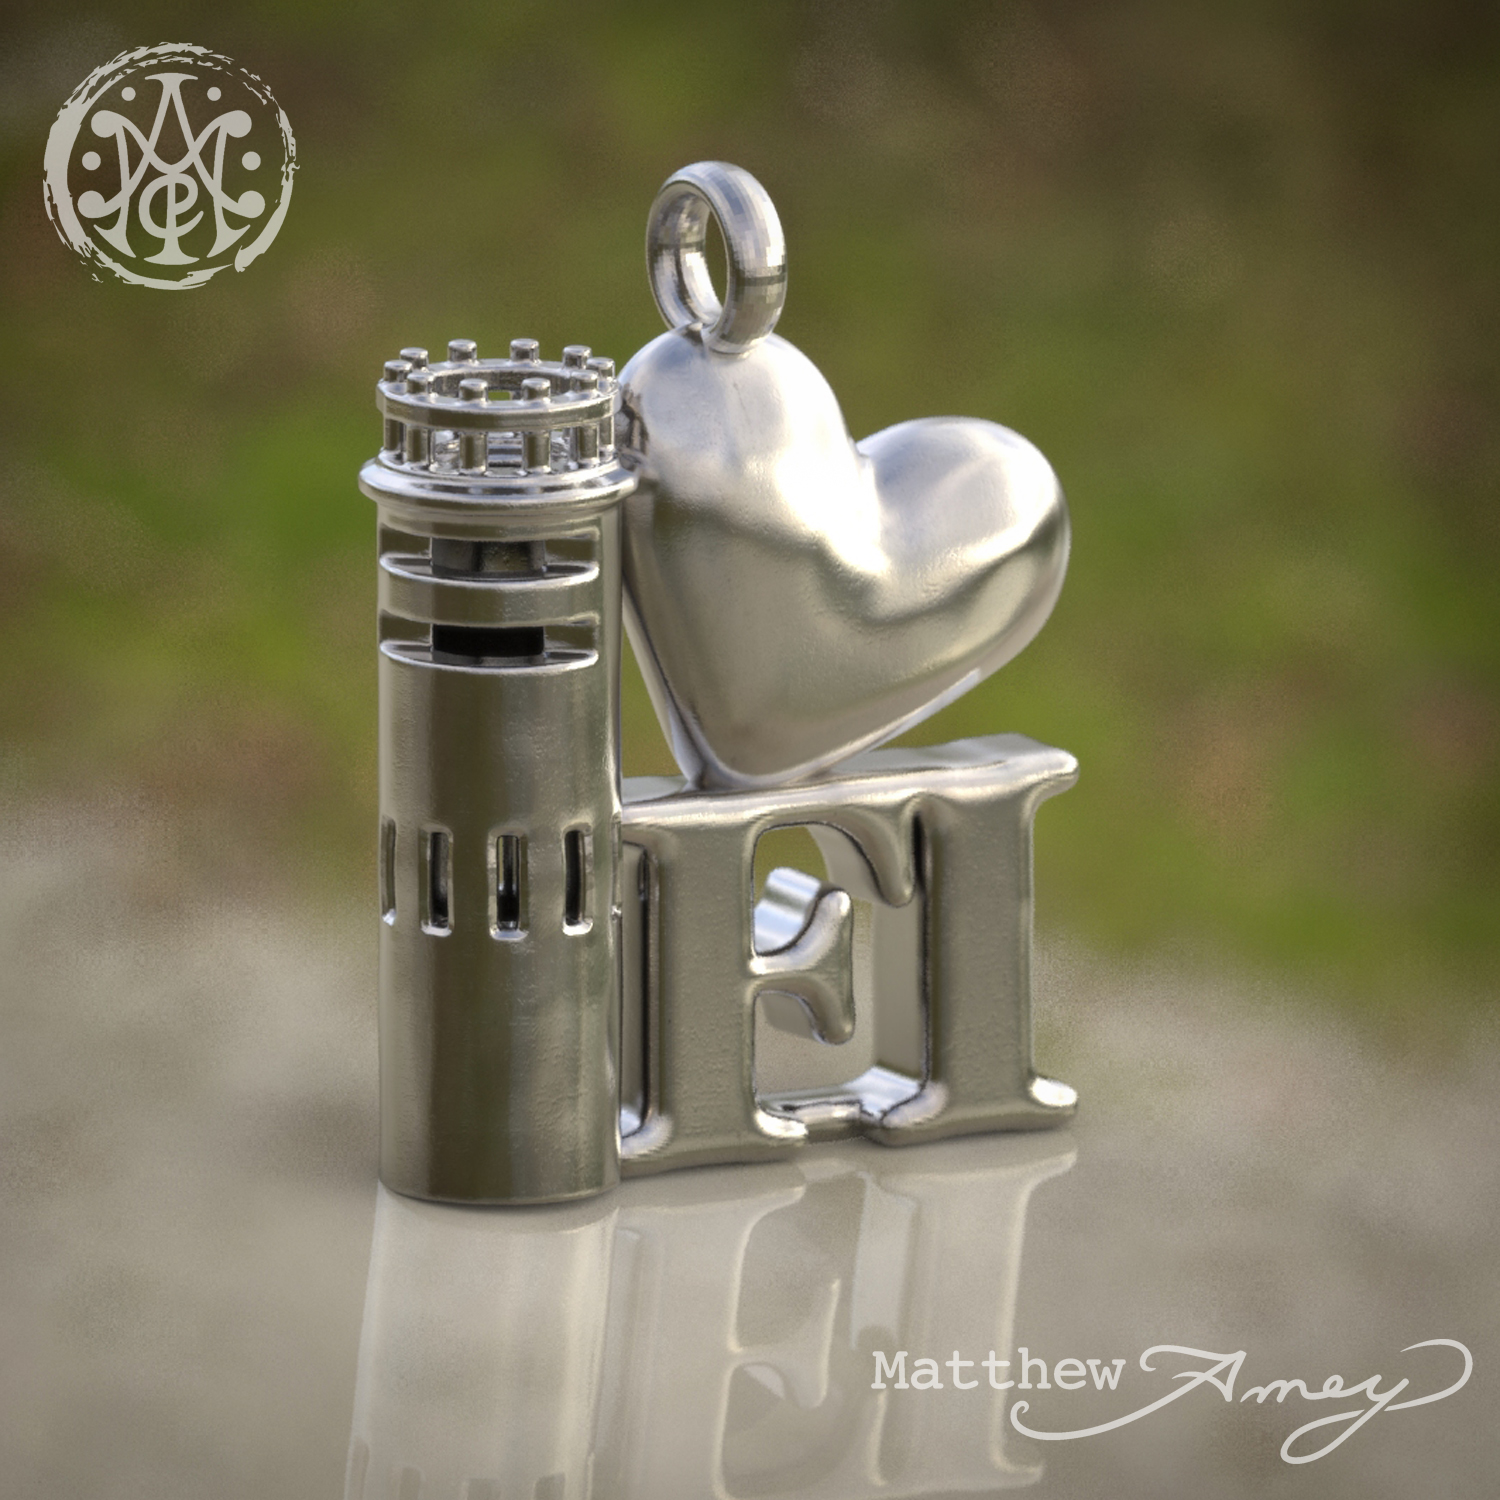
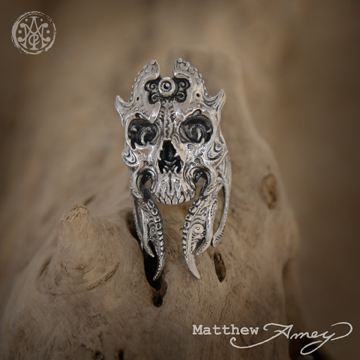
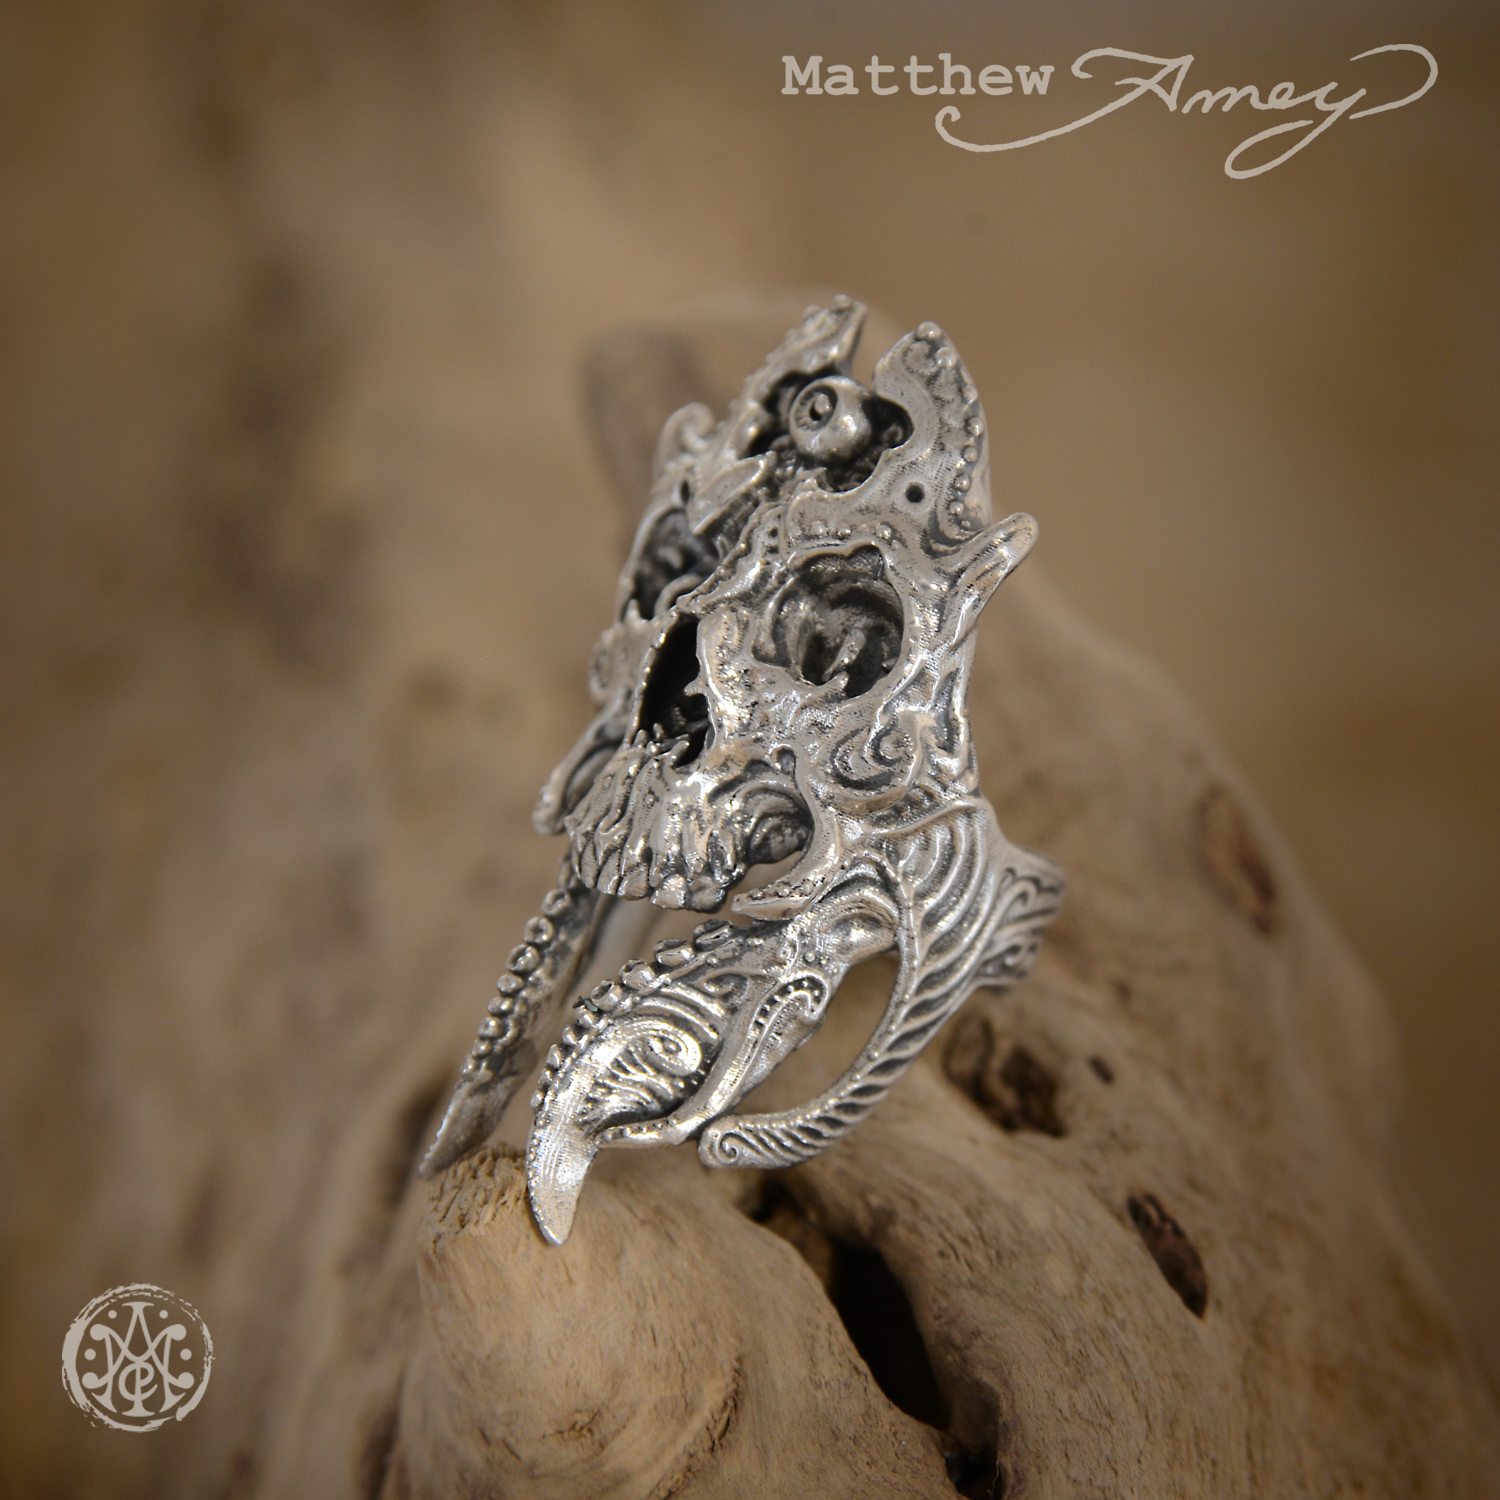
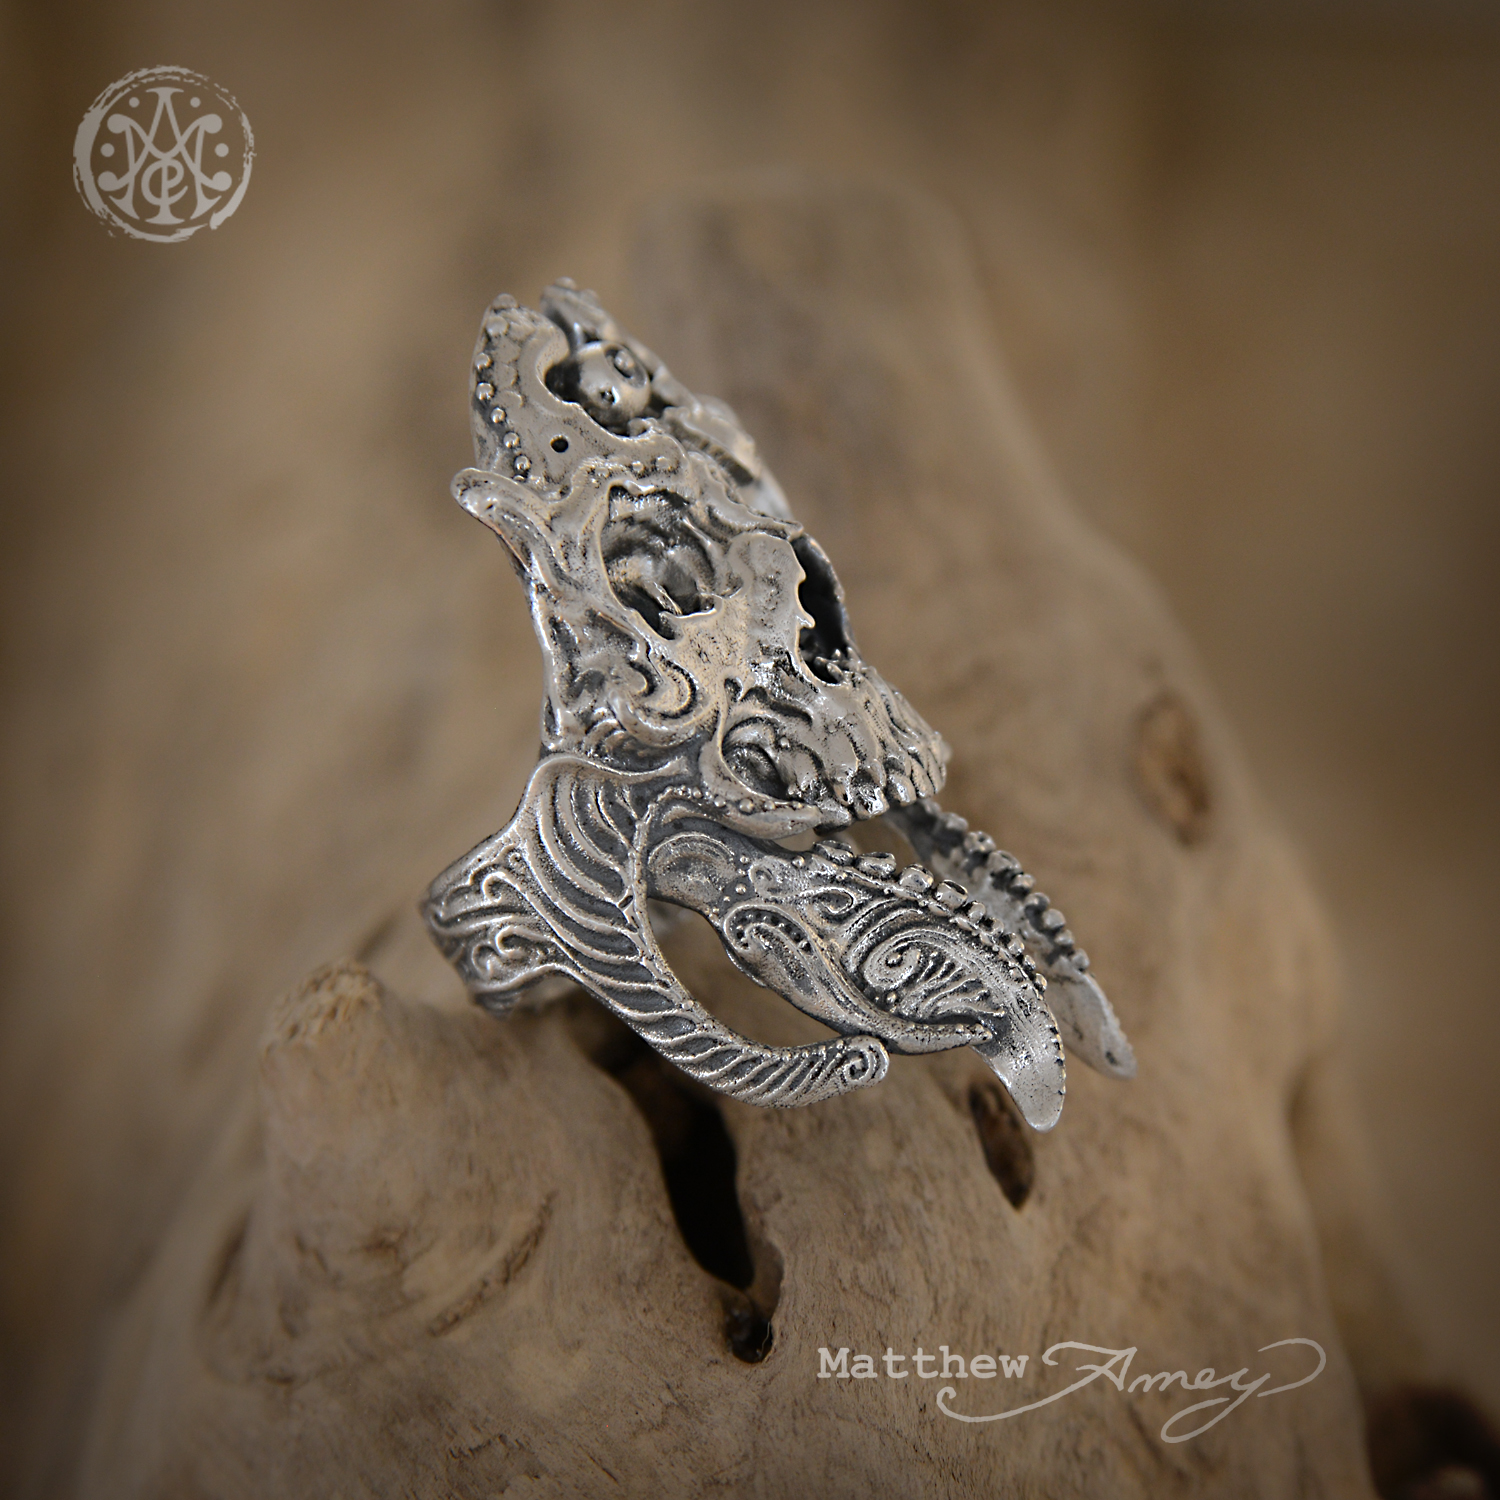
All of the jewelry pieces that are for sale in my store were created using ZBrush, a digital sculpting and modeling program used mostly for character and creature creation in movies and video games.

Here's a quick teaser of some new pieces I'm working on...


Kickstarter - success! 220% funding!

Thanks to the generous folks who are supporting my kickstarter project we are getting my 'Blossoms' pendants made! All eight pendants will be printed in Stainless Steel and a few of them will be printed in wax and cast in Sterling Silver.

These digital sculptures only existed as files on my computer until I started this kickstarter project. The funds raised will allow me to have them 3D printed in metal so that I can photograph the pieces. I am really excited to actually hold these virtual creations! They should be ready by the beginning of September.

Once the photographs are taken I will launch my online store where they will be available FOR SALE!

If all goes well I will be shipping the kickstarter sponsor rewards in late September or early October!


3D printed metal octopus pendants in the works...

I have been honing my digital sculpting skills lately and this is one of my most recent creations. Printed directly in stainless steel infused with bronze, these pendants or extremely unique. There are only three of the 'prototypes' in this first printing and they are a little too big (which consequently makes them very expensive). I am working on a smaller, more affordable size that I hope to have produced in the near future. For now, these pieces are available exclusively through my store on ETSY.com.

 
Rendered image.

Rendered image.

 
The printed pieces after a quick hand polishing.

The printed pieces after a quick hand polishing.


New commission.

Portrait of Seeko, for Katie (From Kari).
14x18 oil on canvas.

Finished painting.14 x 18 oil on canvas.

Finished painting.

14 x 18 oil on canvas.

I started by roughing in the background, quickly rendering the wicker chair. Then I started in with the darker shadows.

I started by roughing in the background, quickly rendering the wicker chair. Then I started in with the darker shadows.

Once I was comfortable with the chair I began blocking in the color of the dog.

Once I was comfortable with the chair I began blocking in the color of the dog.

I started by projecting the photograph onto the canvas. I used a red pencil to trace out the general proportions of the dog and the chair. (Sorry, I didn't get pictures of that...)

Big Kahuna 2013

Painting 'Big Kahuna' in oils.

Our Big Kahuna

First I prepped the canvas with an orange base and I let it dry. The next step was to transfer my image onto the canvas for accurate proportioning. Once the basic lines were placed I then started by blocking in the background. The first three images below show the process by which I blocked in the background colors. 

iphone-20130819165325-0.jpg
iphone-20130819165325-1.jpg

The images below are in a gallery that you can click through. Click on an image to see it larger, then mouse over the image to read about my process. 

This painting was created over the span of a few days. I painted the background and let it dry for a few weeks before I painted the head. The head was painted in one day, over the span of 5 to 6 hours.

Paint Berlin

I participated in the 'Paint Berlin' plein air competition this weekend. Opening reception is tonight from 6:30 to 8pm at the Worcester County Arts Council in downtown Berlin, MD.

iphone-20130921145008-1.jpg
iphone-20130921145008-0.jpg
iphone-20130921145008-3.jpg
iphone-20130921145008-2.jpg